Planning to install rooftop solar and claim up to ₹78,000 subsidy under PM Surya Ghar Muft Bijli Yojana?
Here’s the reality: most applications don’t fail because of eligibility — they fail because of document mistakes.
A missing paper, unclear upload, or name mismatch can delay your subsidy by 30–60 days. This guide gives you a complete, practical checklist based on real approval processes across India, so you can avoid rejection and get your subsidy faster.
Why Documents Are Critical for Solar Subsidy
When you apply through the national solar portal or your state electricity board (DISCOM), your documents are used to:
- Verify your identity and address
- Confirm ownership of the property
- Validate your electricity connection
- Approve your system size
- Transfer subsidy directly to your bank account
👉 Even a small mismatch (like spelling differences) can lead to rejection or delays.
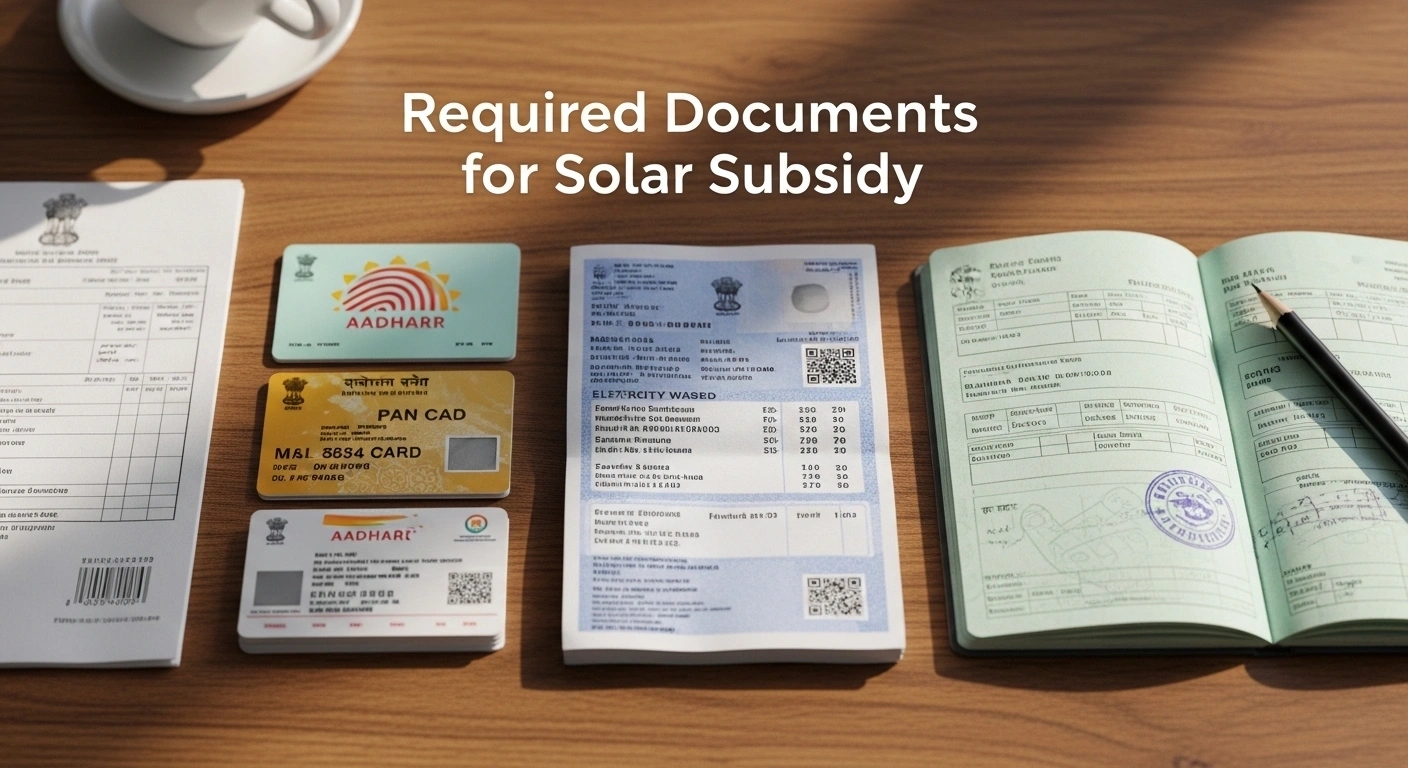
Complete Documents Checklist (2026 Updated)
Below is the latest and most accurate list of documents required across most Indian states.
1. Identity Proof (Mandatory)
You must submit at least one valid ID:
- Aadhaar Card (most preferred)
- PAN Card
- Voter ID
- Passport
✅ Important Tips:
- Name must match exactly with your electricity bill
- Aadhaar-linked mobile number helps in faster verification
2. Address Proof
You need to confirm your residential address where the solar system will be installed.
Accepted documents include:
- Latest electricity bill
- Ration card
- Property tax receipt
- Registered rent agreement (if applicable)
Read Also: Best Solar Credit Loan
Key Point:
Your address proof must match the installation location.
3. Latest Electricity Bill (Most Important Document)
This is the core document in your application.
It is used to:
- Identify your consumer number
- Verify your DISCOM (electricity provider)
- Check your sanctioned load
Requirements:
- Latest bill (within 1–3 months)
- Clearly visible consumer ID
- Correct name and address
👉 Any mismatch here is one of the top reasons for rejection.
4. Property Ownership Proof
To install rooftop solar, you must prove that you own the property.
Accepted documents:
- Sale deed
- Property registration document
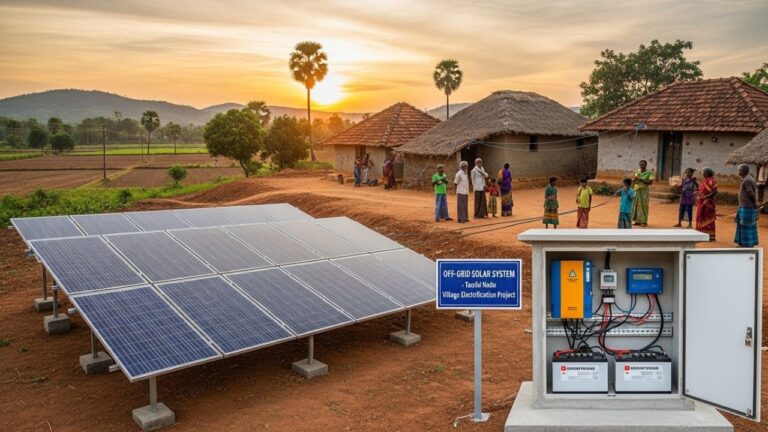
- Land ownership record (like Patta in Tamil Nadu)
- Municipal property documents
❗ If You Live in a Rented House:
- Owner consent letter is required
- Some states may not allow subsidy for tenants
5. Bank Account Details (For Subsidy Transfer)
The subsidy is transferred through Direct Benefit Transfer (DBT).
You must provide:
- Cancelled cheque OR
- Bank passbook copy
✅ Must Include:
- Account holder name
- Account number
- IFSC code
👉 Ensure your bank account name matches your ID proof.
6. Installation Photos (Before & After)
Photos are required for verification after installation.
You Need:
- Rooftop before installation
- Solar panels installed
- Inverter setup
- Net meter installed
👉 These photos are uploaded during the final inspection stage.
7. Vendor Agreement & Technical Documents
If you install through an approved vendor, they will provide:
- Installation agreement
- System specifications (kW size, panels, inverter)
- Compliance certificate (as per MNRE guidelines)
Tip:
Always choose a government-approved vendor to avoid rejection.
8. Net Metering Documents
For grid-connected systems, net metering approval is required.
This includes:
- Net metering application form
- Technical feasibility approval
- DISCOM inspection report
👉 Without net metering, subsidy approval may not be completed.
Expert Insights (Based on Real Applications)
From actual cases across India, here are the top 3 reasons applications get delayed or rejected:
- Name mismatch between Aadhaar and electricity bill
- Incorrect or inactive bank account details
- Blurry or unclear document uploads
Read Also: Cost of Installing Solar for Factories
Insider Advice:
- Upload documents in clear PDF format
- Avoid cropped or low-quality images
- Double-check spelling and numbers
Step-by-Step Application Process
Here’s how the process works in real life:
- Register on the official solar portal
- Fill in basic details and upload documents
- DISCOM verifies your application
- Install solar system through approved vendor
- Upload installation photos
- Apply for net meter installation
- Final inspection by DISCOM
- Subsidy is credited to your bank account
Timeline for Approval
- Initial approval: 7–15 days
- Installation and inspection: 15–30 days
- Subsidy transfer: 30–60 days
👉 Delays usually happen due to document errors or mismatches.
Real Case Example
A homeowner applied for a 3 kW solar system subsidy.
- Expected subsidy: ₹78,000
- Delay faced: 45 days
❌ Issue:
Name mismatch between Aadhaar and electricity bill
✅ Solution:
Updated electricity board records and reapplied
👉 Result: Approval completed successfully
Lesson: Even small document errors can cause major delays.
State-Specific Observations (2026)
- Tamil Nadu: Strict verification by electricity board
- Gujarat: Fast processing but requires complete documentation
- Maharashtra: Additional DISCOM paperwork needed
- Uttar Pradesh: Slower approval process
👉 Always check your state-specific requirements before applying.
Latest Trends (2026)
- Massive increase in rooftop solar adoption
- Government pushing free electricity schemes
- Faster online portals but stricter document checks
👉 This means:
More applications + stricter checks = zero tolerance for mistakes
Final Checklist (Quick Recap)
Before applying, make sure you have:
- ✔️ Identity proof
- ✔️ Address proof
- ✔️ Latest electricity bill
- ✔️ Property ownership proof
- ✔️ Bank account details
- ✔️ Installation photos
- ✔️ Vendor agreement
- ✔️ Net metering documents
Conclusion
Getting a solar subsidy in India is not difficult — but it is highly dependent on documentation accuracy.
If your documents are correct:
- Your approval is faster
- Your subsidy is secure
- You avoid unnecessary follow-ups
👉 Think of it as a verification process, not just an application.
Related Posts