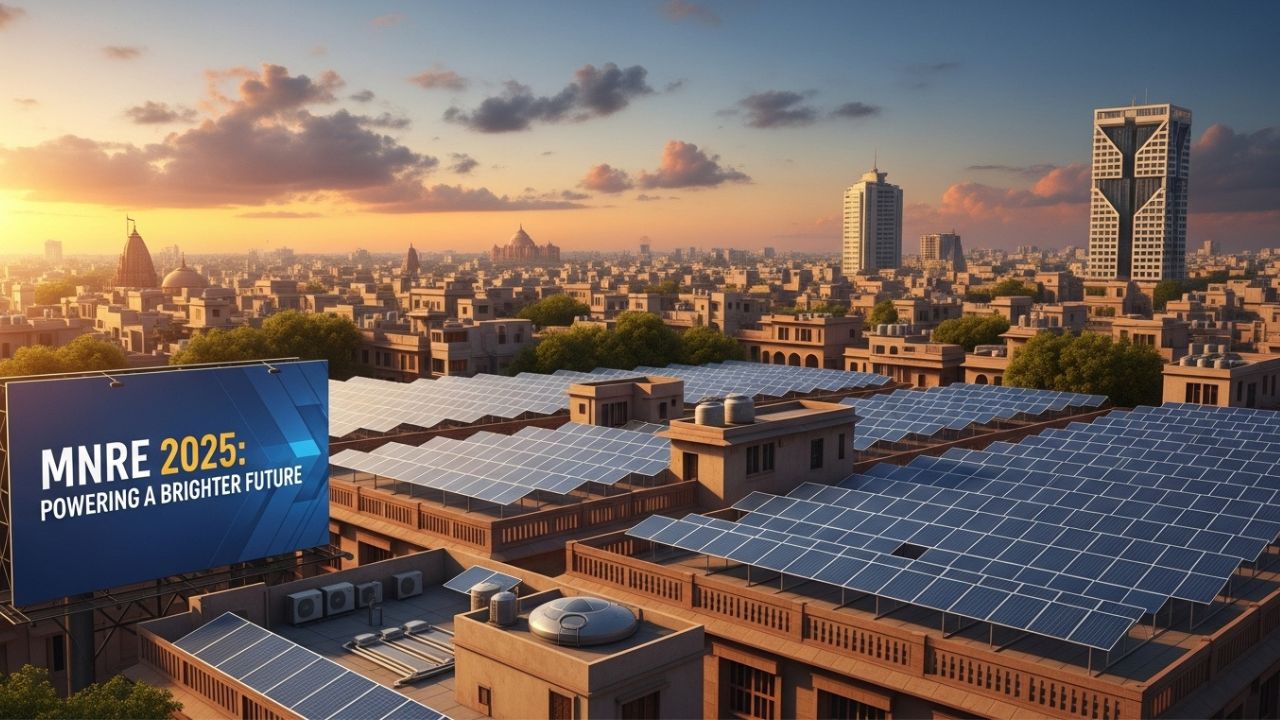
Rooftop Solar Under MNRE 2025: India’s move toward clean energy has reached a significant milestone through the PM Surya Ghar: Muft Bijli Yojana, launched by the Ministry of New and Renewable Energy (MNRE). The program helps residents install grid-connected rooftop solar systems and receive substantial subsidies, making green power accessible to all.
As of 2025, over 4.9 GW of rooftop solar capacity has been installed across the country, and the National Portal for Rooftop Solar —pmsuryaghar.gov.in— simplifies the entire process. This single window lets households register, select vendors, track applications, and receive subsidies directly into their bank accounts.
This comprehensive guide explains how to apply for rooftop solar systems online, including eligibility, documents needed, and a step-by-step walkthrough of the MNRE portal for 2025.
Understanding the MNRE’s Rooftop Solar Program
The MNRE’s Grid-Connected Rooftop Solar Programme (Phase II) aims to install rooftop solar systems across 1 crore households by 2027. The government provides up to ₹78,000 per household through the Direct Benefit Transfer (DBT) system under the PM Surya Ghar Yojana.
Central Subsidy Structure (2025)
| System Capacity | Subsidy Amount | Percentage of Support |
| 1 kW | ₹30,000 | 60% of total system cost |
| 2 kW | ₹60,000 | 60% of total system cost |
| 3 kW and above | ₹78,000 (maximum) | 40% beyond 3 kW up to 10 kW |
For larger residential or community projects (like RWAs), subsidies apply up to 500 kW.
Read Also: Commercial Rooftop Solar System Payback in India 2025: A Complete Guide for Businesses
Why the National Portal Matters
Before 2022, solar applicants had to visit local DISCOM offices or rely on vendors for processing. The launch of the National Portal for Rooftop Solar centralized everything:
- Nationwide accessibility: Work from home with state-level integration.
- Transparency: Eliminates middlemen and manual file tracking.
- Faster subsidy disbursal: Funds sent directly through the DBT system.
- Ease of vendor access: Choose from MNRE-approved, empanelled solar vendors.
- Real-time tracking: Monitor every project step from registration to subsidy transfer.
As of October 2025, the portal has processed 57.9 lakh consumer applications, making it one of the fastest-growing energy programs globally.
Eligibility Criteria
To ensure valid participation and genuine adoption, the MNRE has outlined clear eligibility norms :
- Residential Users Only: Individual homes, apartments, cooperative housing societies, and RWAs.
- Ownership Clause: Applicant must own the property or rooftop space.
- DISCOM Connection: Valid electricity connection from state distribution company.
- Capacity Limit: Up to 10 kW for individual homes, up to 500 kW for group projects.
- Empanelled Vendor Required: Installation must be via MNRE-approved vendors listed on the portal.
- System Type: Must be grid-connected with net metering enabled.
- Domestic Products: Panels must comply with ALMM (Approved List of Models and Manufacturers), and inverters require BIS certification.
Not eligible: Commercial, institutional, and industrial users (they qualify for separate state schemes or tax rebates).
Essential Documents Required
Ensure these documents are ready before registering on the portal :
- Latest electricity bill showing connection details.
- Proof of ownership of the rooftop/property.
- Aadhaar card or government-issued photo ID.
- Recent passport-size photograph.
- Bank account details or passbook scan for DBT credit.
- Roof layout image or satellite map (for verification).
If applying for a loan, upload copies of income proofs such as ITR or salary slips.
Step-by-Step Guide to Apply for Rooftop Solar on MNRE Portal
Here’s the complete registration process outlined step by step :
Step 1: Visit the Official Portal
Go to the National Portal for Rooftop Solar – https://pmsuryaghar.gov.in.
Alternatively, you can access it via the SANDES app, where you’ll find the Rooftop Solar option.
Step 2: Consumer Registration
- Click “Apply for Rooftop Solar” on the homepage.
- Choose your State and DISCOM (Distribution Company).
- Enter your Consumer Number (from your electricity bill).
- Provide your mobile number and email ID.
- Verify both via OTP and create a secure login password.
- Save your account credentials for future access.
Once registered, you’ll receive a confirmation email from your local DISCOM office and can log in under Consumer Login.
Step 3: Submit Solar Application
After verification, click “Apply for Solar Rooftop” within your account dashboard.
Fill in the following details:
- Name & address on the electricity bill.
- Rooftop area available (approximation).
- Desired solar system capacity (in kW).
- Sanctioned load (as per your DISCOM records).
- Any existing solar system capacity (only if part upgrade).
Upload a scanned copy of your latest electricity bill and property proof.
Step 4: Technical Feasibility Approval (TFR) by DISCOM
Your DISCOM reviews your rooftop details to ensure that installation is feasible for grid connection.
- Review takes 3 to 7 working days.
- You’ll receive either an “Approved” or “Revised” status email.
- Do not proceed with installation until DISCOM feasibility is approved.
Step 5: Select MNRE-Approved Vendor
After feasibility approval:
- Log in again to the portal.
- Select your state-approved vendor from the empanelled vendor list.
- Negotiate price and service terms.
- Ensure a formal installation agreement is signed — downloadable from the portal.
Tip: Always check that your vendor uses:
- ALMM-listed solar panels.
- BIS-certified inverters.
If the vendor or product fails MNRE standards, you become ineligible for subsidy.
Step 6: System Installation
Once approved:
- The vendor will install the rooftop solar plant on your building.
- System specifications must match your approved application.
- Ensure net metering readiness – DISCOM will later install the meter.
- Take photographs (front, panel setup, inverter view) as proof of completion.
Step 7: Upload Post-Installation Documents
Log in again and upload the following under “Post Installation”:
- System photographs.
- Commissioning certificate.
- Installation invoice and product warranties.
- Net meter photograph and approval proof.
Your DISCOM will now inspect the installation to ensure compliance and safety.
Step 8: Net Metering & Inspection
The local Sub-Divisional Officer (SDO) of your DISCOM conducts a site inspection within 15 days.
Once the inspection is approved:
- The net meter is installed.
- A connection agreement is activated between consumer and DISCOM.
- Rooftop solar becomes operational, generating live power to your grid.
Step 9: Subsidy Disbursement (DBT Credit)
After successful inspection:
- The MNRE processes your subsidy payment directly through DBT to your bank account.
- The amount (up to ₹78,000) is normally credited within 30–45 days.
You will receive an SMS and email confirmation once funds are released.
Additional Ways to Access the Portal
Besides desktop login, the MNRE provides two popular digital channels to simplify access:
- SANDES App Integration: Download the government messaging app, search for “National Portal for Rooftop Solar,” and apply directly within it.
- Vendor Assistance Mode: Registered MNRE vendors can fill applications on your behalf after authorization, useful for senior citizens or those with limited digital literacy.
Common Mistakes to Avoid
- Using Unapproved Vendors: Always cross-check vendor credentials on the MNRE’s vendor list to avoid subsidy disqualification.
- Skipping DISCOM Approval: Do not install before getting the Technical Feasibility Report (TFR)—this step is mandatory.
- Incomplete Documentation: Mismatch in electricity bills, Aadhaar, or account details often delays payments.
- Wrong System Capacity Selection: Calculate realistic daily usage before finalizing capacity; oversized systems may be rejected by DISCOM.
- Late Post-Installation Uploads: Delay in uploading post-installation images may void your subsidy application.
Key Features of the MNRE Portal in 2025
The 2025 upgrade of the MNRE portal introduced new automation and transparency features :
- Real-time application tracking with push notifications.
- Integrated vendor ratings and performance metrics.
- Feasibility AI checker for rooftop area assessment.
- Energy-saving calculator to estimate post-solar savings.
- Regional language menus — available in Hindi, Tamil, Marathi, Telugu, Bengali, and Gujarati.
Real-World Example
Case Study: Renu Sharma – Lucknow, Uttar Pradesh
Renu, a homeowner, installed a 3 kW rooftop solar system in August 2025.
- Total Cost: ₹1,50,000
- MNRE Subsidy: ₹78,000
- Net Payable Amount: ₹72,000
- Average Monthly Bill Pre-Solar: ₹2,200
- Post-Installation: ₹90 (service fee)
Her payback period is just 2.5 years, and she enjoys ₹1,200 monthly savings while feeding extra power back to the grid.
Read Also: Agrivoltaics in Tamil Nadu: Dual Land Use for Farming and Energy
Frequently Asked Questions (FAQs)
1. How do I register for rooftop solar online?
Visit pmsuryaghar.gov.in and register as a consumer with your electricity account details, state, and DISCOM.
2. What is the maximum subsidy under MNRE 2025?
Up to ₹78,000 for residential installations above 3 kW capacity.
3. Can group housing societies apply?
Yes. RWAs and societies can avail subsidy for up to 500 kW system capacity.
4. How long does the procedure take?
Typically 45–70 days, including DISCOM approvals, installation, and inspection.
5. Will I get the subsidy upfront?
No, the subsidy is credited post-installation after DISCOM inspection through DBT.
6. Can I choose any vendor?
Only vendors approved by MNRE and your state DISCOM are eligible under the subsidy scheme.
7. What happens if a non-approved vendor installs my system?
Your subsidy claim becomes invalid, though the solar system may still generate electricity.
8. Are loans available for rooftop systems?
Yes. NBFCs like Ecofy and SBI Green Loans provide easy financing options under the same government framework.
Conclusion
The MNRE Rooftop Solar Portal (2025) has revolutionized how citizens adopt renewable energy. With a simple digital process, direct bank subsidies, and transparent vendor management, it empowers households to produce their own clean electricity affordably.
By following this step-by-step guide, homeowners can easily install rooftop solar systems, reduce electricity bills by up to 90%, and contribute to India’s Net Zero by 2070 mission.
Clean energy is no longer the future — it’s an opportunity available right now, and it begins with one click on pmsuryaghar.gov.in.
Related Posts

2 thoughts on “How to Apply for Rooftop Solar Under MNRE 2025: Step-by-Step Portal Guide”